How to Build AxeOS from Source
This guide shows you, how you can compile AxeOS yourself. It is split into three sections for the operating systems:
Requirements
Section titled “Requirements”- ESP IDF
- Espressif Tool VSCode
- This firmware is designed to run a Bitaxe v2+
💻 Windows
Section titled “💻 Windows”1. Installation
Section titled “1. Installation”- Install the Espressif tool from here. On this page, you will find a “Get Started” guide for installing this onto your machine.
- Install Visual Studio Code.
- Install the Espressif IDF Extention in VSCode.
2. Clone repository
Section titled “2. Clone repository”Clone the ESP-Miner repository and open it in VSCode.
3. Configuration
Section titled “3. Configuration”After you have installed everything we need to configure the Espressif Tool.
In Visual Studio Code go to View → ESP-IDF: Device Configuration → Device Target → ESP-Miner → esp32s3 → ESP-S3 via USB Bridge
4. Build
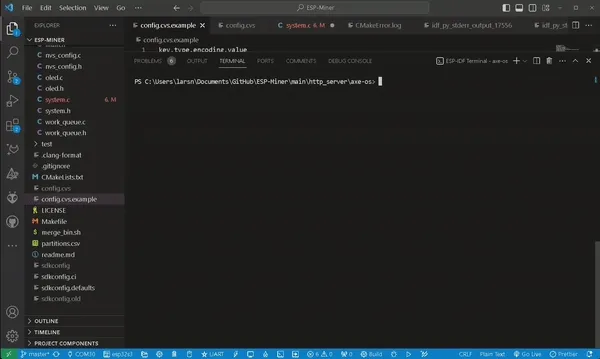
Section titled “4. Build”Open an ESP-IDF terminal and cd into the /main/http_server/axe-os/ folder because we need to build the WebUI first with:
npm run buildBecause the firmware needs to be built from the root directory, cd back to it and then build the firmware with:
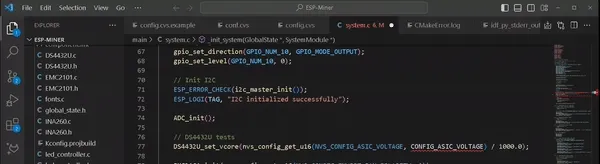
idf.py build
This will generate a build directory at the root of the project and there you will find the www.binand the esp-miner.bin files. These will be uploaded to your Bitaxe.
🍏 MacOS
Section titled “🍏 MacOS”🐧 Linux
Section titled “🐧 Linux”1. Installation
Section titled “1. Installation”To compile using ESP-IDF, you need to get the following packages. The command to run depends on which distribution of Linux you are using:
sudo apt-get install git wget flex bison gperf python3 python3-pip python3-venv cmake ninja-build ccache libffi-dev libssl-dev dfu-util libusb-1.0-0sudo yum -y update && sudo yum install git wget flex bison gperf python3 cmake ninja-build ccache dfu-util libusbxsudo pacman -S --needed gcc git make flex bison gperf python cmake ninja ccache dfu-util libusb2. Get ESP-IDF
Section titled “2. Get ESP-IDF”To build applications for the ESP32, you need the software libraries provided by Espressif in ESP-IDF repository.
To get ESP-IDF, navigate to your installation directory and clone the repository with git clone, following instructions below specific to your operating system.
Open Terminal, and run the following commands:
mkdir -p ~/espcd ~/espgit clone --recursive https://github.com/espressif/esp-idf.gitESP-IDF is downloaded into ~/esp/esp-idf.
3. Set up the Tools
Section titled “3. Set up the Tools”Aside from the ESP-IDF, you also need to install the tools used by ESP-IDF, such as the compiler, debugger, Python packages, etc, for projects supporting ESP32.
cd ~/esp/esp-idf./install.sh esp32s34. Setup Environments Variables
Section titled “4. Setup Environments Variables”The installed tools are not yet added to the PATH environment variable. To make the tools usable from the command line, some environment variables must be set. ESP-IDF provides another script that does that.
In the terminal where you are going to use ESP-IDF, run:
. $HOME/esp/esp-idf/export.shNote the space between the leading dot and the path!
If you plan to use ESP-IDF frequently, you can create an alias for executing export.sh:
- Copy and paste the following command to your shell’s profile (
.profile,.bashrc,.zprofile, etc.)
alias get_idf='. $HOME/esp/esp-idf/export.sh'- Refresh the configuration by restarting the terminal session or by running
source [path to profile], for example,source ~/.bashrc.
Now you can run get_idf to set up or refresh the ESP-IDF environment in any terminal session.
Clone repository
Section titled “Clone repository”Clone the ESP-Miner repository and open it in VSCode.